Configure Multiple DHCP Scopes with PowerShell (Step-by-Step Guide)
 Suresh Thapa
Dynamic Host Configuration Protocol (DHCP) is a critical service in any Windows Server environment. It automatically assigns IP addresses and other TCP/IP configuration details to client devices, reducing manual work for administrators.
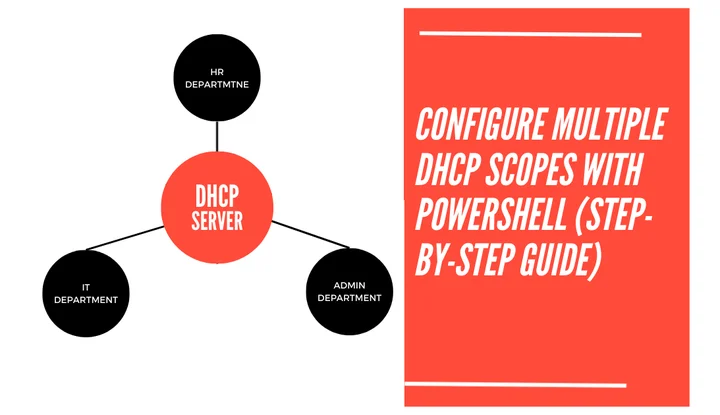
In this guide, we’ll configure a DHCP server using PowerShell and create multiple scopes (pools) for different departments like HR, IT, and Admin.
In this guide, we will configure a DHCP server with three scopes:
- HR Department →
192.168.1.0/24 - IT Department →
192.168.2.0/24 - Admin Department →
192.168.3.0/24
All DHCP options (DNS, Router, and Domain Name) will also be set with PowerShell.
Step 1: Install the DHCP Server Role
First, install the DHCP Server role on your Windows Server.
Install-WindowsFeature -Name 'DHCP' -IncludeManagementTools
Authorize the DHCP server in Active Directory:
Add-DhcpServerInDC -DnsName "DHCP.mypracticelab.com" -IPAddress 192.168.10.254
Step 2: Create DHCP Security Group
DHCP requires security groups for proper access.
Add-DhcpServerSecurityGroup
Step 3: Create Multiple DHCP Scopes
Now, let’s create three separate scopes for HR, IT, and Admin departments.
HR Department Scope
Add-DhcpServerv4Scope `
    -Name "HR Scope" `
    -StartRange 192.168.1.100 `
    -EndRange 192.168.1.150 `
    -SubnetMask 255.255.255.0 `
    -LeaseDuration 8:00:00 `
    -State Active `
    -ComputerName "DHCP.mypracticelab.com"
IT Department Scope
Add-DhcpServerv4Scope `
    -Name "IT Scope" `
    -StartRange 192.168.2.160 `
    -EndRange 192.168.2.200 `
    -SubnetMask 255.255.255.0 `
    -LeaseDuration 8:00:00 `
    -State Active `
    -ComputerName "DHCP.mypracticelab.com"
Admin Department Scope
Add-DhcpServerv4Scope `
    -Name "Admin Scope" `
    -StartRange 192.168.3.210 `
    -EndRange 192.168.3.230 `
    -SubnetMask 255.255.255.0 `
    -LeaseDuration 8:00:00 `
    -State Active `
    -ComputerName "DHCP.mypracticelab.com"
Step 4: Configure DHCP Options for Each Scope
We will configure:
- DNS Domain:
mypracticelab.com - DNS Servers:
192.168.10.254, 192.168.10.253 - Router (Gateway): first usable IP of each subnet
HR Scope Options
Set-DhcpServerv4OptionValue `
    -ScopeId 192.168.1.0 `
    -DnsDomain "mypracticelab.com" `
    -DnsServer 192.168.10.254,192.168.10.253 `
    -Router 192.168.1.1 `
    -ComputerName "DHCP.mypracticelab.com"
IT Scope Options
Set-DhcpServerv4OptionValue `
    -ScopeId 192.168.2.0 `
    -DnsDomain "mypracticelab.com" `
    -DnsServer 192.168.10.254,192.168.10.253 `
    -Router 192.168.2.1 `
    -ComputerName "DHCP.mypracticelab.com"
Admin Scope Options
Set-DhcpServerv4OptionValue `
    -ScopeId 192.168.3.0 `
    -DnsDomain "mypracticelab.com" `
    -DnsServer 192.168.10.254,192.168.10.253 `
    -Router 192.168.3.1 `
    -ComputerName "DHCP.mypracticelab.com"
Step 5: Verify DHCP Scopes and Options
Get-DhcpServerv4Scope -ComputerName "DC1.mypracticelab.com"
Get-DhcpServerv4OptionValue -ScopeId 192.168.1.0
Get-DhcpServerv4OptionValue -ScopeId 192.168.2.0
Get-DhcpServerv4OptionValue -ScopeId 192.168.3.0
Conclusion
With just a few PowerShell commands, we successfully configured a Windows DHCP Server with multiple scopes (HR, IT, Admin), each with its own IP range and gateway. Automating DHCP setup using PowerShell saves time and reduces configuration errors.